Instructions for replacing projector lamps
When you have purchased a lamp with housing for a projector or projection TV, installation is a very simple task. Nevertheless, we recommend that you proceed according to the instructions below so that you do not forget any important steps. Keep in mind that when you have purchased a lamp with housing, installation is the same regardless of the lamp type (original, original bulb inside, generic). As for replacing bare bulbs (without housing purchased), the lamp replacement process is more complicated. How complicated depends on many different factors as you will see below.
When replacing lamps, you may proceed according to this general set of instructions. If you have the manual for your device, it should contain the precise procedure for your projector or TV, which we recommend to follow carefully. Some original lamps with housing also come with instructions from the manufacturer.
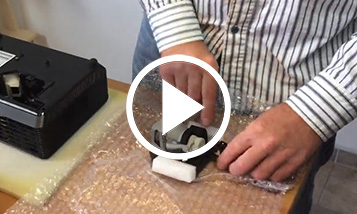
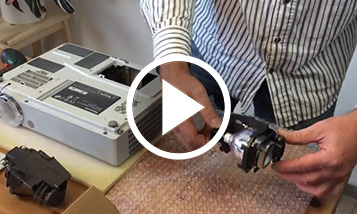
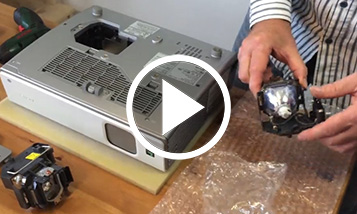
You can also learn more about replacing a lamp from our video tutorial which shows the process for several selected brands of projectors, as well as the replacement process for a bare bulb without housing.
Procedure for replacing a lamp with housing
- If you have just used your device, leave the lamp inside until it cools down. The hot lamp can cause a fire or serious burns.
- Switch off the projector / TV and unplug it.
- Find the lamp cover on the projector, loosen the screws, and remove the cover.
- Use a suitable screwdriver to loosen the screws that hold the lamp housing in place – it is not always necessary to remove all of the screws but just those which attach the lamp housing to the projector.
- Release the handle (typically metal) on the housing.
- Hold the projector firmly and carefully remove the lamp housing using its handle. If the lamp housing is stuck in the projector, you can try using the screwdriver gently for leverage.
- Prepare the new lamp housing. If you have purchased a bare bulb without housing, it is necessary to mount the bulb in the original housing according to the instructions below. Once you have done that, you can proceed with these instructions.
- Wipe the front glass cover of the lamp housing with a clean cloth and also the internal reflexive part of the lamp if it is not covered.
- Insert the housing into the projector in exactly the same position as the original lamp housing.
- Return the handle to its original position and make sure that it is fixed in place.
- Tighten the screws holding the lamp housing in place.
- Place the cover on the lamp housing and fasten it in place. There is no point in switching the projector on without the lamp cover fixed in place. Most projectors will not start up at this stage!
- Reset the lamp’s operating hours counter - this is another essential step. You can find the exact procedure for doing this in the manual of your projector, or in this article on resetting the counter in our FAQ section.
- Plug the device in. It is now ready for use.
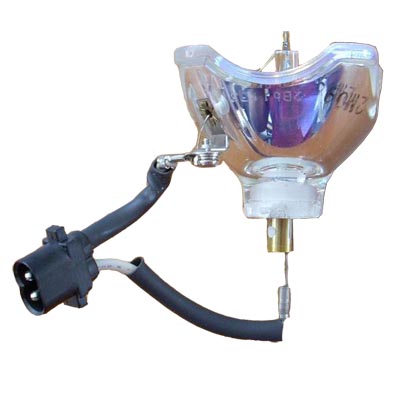
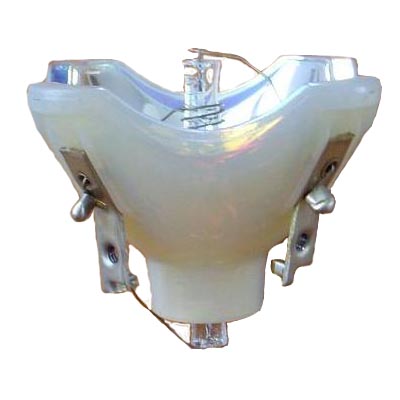
Procedure for replacing a bare bulb in old housing
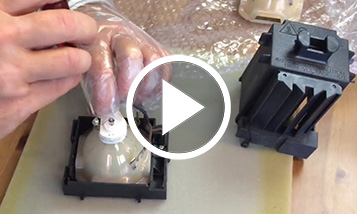
Never touch the new bulb with your bare hands. Use either plastic gloves or a cloth to hold the bulb. The grease from your hands can stick to the bulb and may cause the bulb to explode when the projector is on.
- Dismantle the original lamp housing so that you can remove the original bulb. Remove any dust and dirt.
- Study and remember the way in which the connectors are attached to the original bulb. We recommend taking a photo of the way in which the power cables are connected before removing them from the old lamp.
- Study the new lamp and compare it with the old one. It may differ in the way the power supply cables are attached.
- Disconnect the power supply cables from the original bulb. If any of the power cables are firmly attached to the bulb and cannot be removed by unscrewing them, it is necessary to cut them off as close to the bulb as possible.
- Remove the original bulb and fix the new bulb in place.
- Attach the power cables to the new bulb. If you had to cut the power cables off the original bulb, you can connect the new bulb in one of the following ways:
- If the new bulb has a lug prepared for attaching an eyelet to the power cable, then attach an electrical eyelet onto the end of the power cable and screw it onto the lug with a suitable screw (see diagrams 1-4). On request, we can send you the eyelet along with the lamp.


- If the new bulb has a lug prepared for attaching an eyelet to the power cable, then attach an electrical eyelet onto the end of the power cable and screw it onto the lug with a suitable screw (see diagrams 1-4). On request, we can send you the eyelet along with the lamp.
- Assemble the lamp housing and insert it into the projector according to the instructions above (“Procedure for replacing a lamp with housing”).


Our videos may help you with the replacement procedure
FAQ
- Replacing a lamp
- How do I reset the lamp's operating time counter on the projector?
- How do I reset the lamp operating time counter on my TV?
- Manuals for selected projector models
- Epson EMP-X56: Projector Lamp Replacement Video Tutorial
- BenQ MP771: Projector Lamp Replacement Video Tutorial
- Acer X110P: Projector Lamp Replacement Video Tutorial
We are here to help you
choose the right lamp!
Feel free to contact me with any questions or concerns

customer service
(Mon-Fri 9-17)
If you already have all of the necessary info, simply choose the right one
Rapid Lamp Finder
Find your lamp in just 4 clicks