Bare Bulb Replacement Video Tutorial
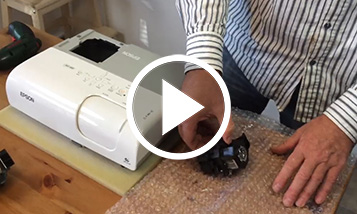
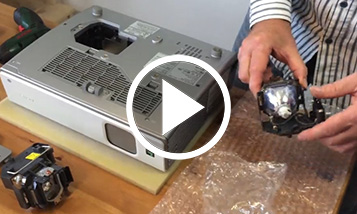
In this video tutorial, you will see how a bare bulb is replaced in the original lamp housing. The replacement is demonstrated with a POA-LMP108 lamp, which is used in certain Sanyo and EIKI projectors. For other lamps the procedure is similar, although can differ in the way in which the lamp housing is assembled and the connectors are attached. In the demonstration, all of the connectors are attached by screws and the replacement of the bare lamp is simple. If any of the connectors are firmly attached to the bulb, it is necessary to use an electrical eyelet or a hollow crimping connector to connect it. In such cases, we recommend that the replacement of the bare bulb is performed by only by professionals.
Subtitle transcription
- Open the cover of your original housing
- Method of attachment of the cover may slightly differ for different lamps
- Remember well the attachment of the original bulb and power cables
- We recommend taking a photo of the original wiring
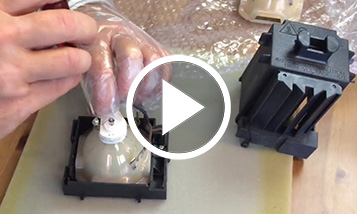
- Wear gloves
- Never touch the bulb with bare hands
- You can use e.g. gloves from gas station
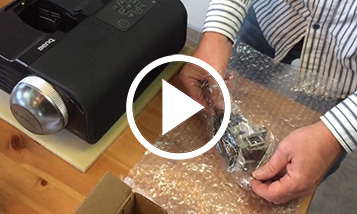
- Unpack the new bulb
- Make sure that the bulb shape corresponds to the original one
- Designation of the bulb may not always be the same; it may be a bulb with the same parameters from another qualified manufacturer
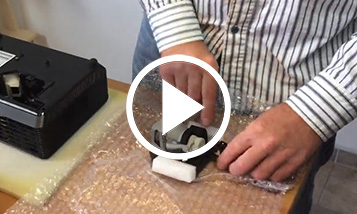
- Remove the old bulb
- Disconnect and release the original bulb
- If some connector is securely bolted, you must use a metal eyelet that we can send you on request
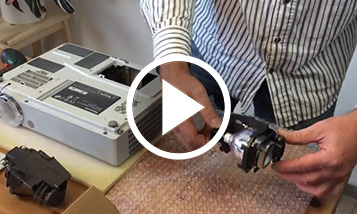
- Install the new bulb
- Always attach the connectors to the same location as they were before
- Most housing uses two connectors only, do not confuse even those (it may be a DC bulb)
- Cover the lamp housing
- Do not forget to reset the counter after settling the lamp housing into the projector
- Follow the instructions in your projector manual
- or check out our other videos